This post contains affiliate links. As an Amazon Affiliate, I earn from qualifying purchases. I may receive a small commission – no extra cost to you – when you make a purchase through these links.
If you want to learn hand lettering for sign making, the easiest way to start isn’t a blank canvas and a fancy brush pen — it’s a good template, some scrap supplies you probably already have, and about 30 minutes on a Wednesday afternoon.
Which is exactly how this project came together! Here, I’m breaking it down step by step so you can make your own version at home.
This tutorial uses a real, from-scratch project: a Mod Podge scrapbook-paper background, a hand-lettered inspirational phrase, and a repurposed framed sign blank. No prior lettering experience needed — just a traceable template and a little patience while things dry.
What You’ll Need
Here’s everything used in this project. Swap in whatever colors or patterns feel like you — that’s half the fun!
- A blank sign or picture frame with a removable wood/canvas backing (Walmart and Hobby Lobby both carry these in their craft sections)
- An 8×8 canvas panel (or any hard panel that fits your frame — canvas takes lettering beautifully)
- Scrapbook paper in a pattern you love (the wallpaper-style prints work especially well)
- Mod Podge plus a foam roller or brush for smooth, bubble-free application
- Acrylic paint in your background color, plus white to lighten as needed
- A paintbrush for streaky, hand-painted texture
- White graphite/transfer paper to trace your template onto a dark or patterned surface
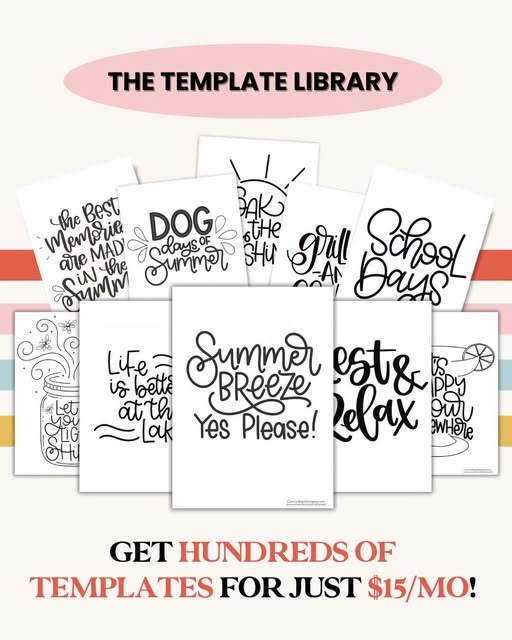
- A hand lettering template — this project used a design from the Template Library
- A paint pen (Posca or similar) for the final lettering
- A hot glue gun and glue sticks to attach your panel to the frame
- Scissors or an X-Acto knife for trimming
- Baby wipes and a little extra paint if you want to antique any embellishments, like beads
Step #1: Choose Your Sign Blank and Template
Start with your base. An old framed sign, a repurposed decor piece from around the house, or a fresh wood or canvas panel all work.
If you’re using hand lettering templates for door hangers or signs, pick a phrase that fits the size and shape of your blank — and one that actually means something to you. A message you love is a lot more fun to letter than a random filler phrase.
Step #2: Prep Your Background
If you’re using scrapbook paper, apply an even coat of Mod Podge to your panel backing, then smooth the paper on top with a roller — working like you’re hanging wallpaper. Let it sit; bubbles usually flatten out on their own if you give them time instead of poking at them.
If you’re painting your background instead, apply your acrylic in loose, uneven brushstrokes rather than a flat, solid coat. A little visible texture — like a “messy bun that’s supposed to look messy” — reads as intentional, hand-painted charm rather than a mistake.
Step #3: Let Everything Dry
This is the step people skip, and it’s the one that matters most. Whether you just Mod Podged paper or painted a background, give it real drying time before moving on — rushing this stage is what causes smudging later.
Step #4: Transfer Your Template
This is where traceable lettering templates for signs save you from the hardest part of the whole project: coming up with your own lettering from scratch.
Lay a sheet of white graphite paper face-down on your panel, place your printed template on top, and trace over the design with a pen or stylus, pressing firmly and evenly. When you lift the papers away, you’ll have a light guideline ready to paint over.
Step #5: Letter It In
Go over your transferred lines with a paint pen, working slowly and steadily. If your background is dark or patterned, mix a touch of white into your paint pen color (or use a naturally lighter shade) so the lettering stays legible against a busy backdrop.
This is a great moment to practice how to transfer lettering to door hangers and other signs — the technique is identical no matter what you’re working on.
Step #6: Assemble Your Sign
Once your lettering is fully dry, hot glue your lettered panel into the frame. Work quickly once the glue is applied, since hot glue sets fast, and check that your panel sits centered and even before it cools.
Step #7: Add Optional Embellishments
Beads, ribbon, or trim can take a sign from cute to finished. If your embellishments came in a color that doesn’t quite match, dab on a little diluted paint with a baby wipe for a soft, antiqued look — this works especially well on beads or wood trim you want to tie into your color scheme.
Make Sign Lettering Your Own
The beauty of working from a template is that the design part is done for you — you’re free to focus on color choices, background texture, and finishing touches that make the piece feel personal.
Change the phrase, change the paper, change the frame, and you’ll get a completely different sign from the exact same process.
Ready for More Templates Like This One?
If this project made lettering feel more approachable than you expected, that’s the whole point. Inside the Template Library, you’ll find 500+ traceable, ready-to-use hand lettering designs — plus new ones added every month — so you always have a fresh project waiting, without ever staring at a blank page.
Join the Template Library today and start your next sign with the design work already done for you.