You might have seen them popping up everywhere – from Instagram to Pinterest it seems like wooden beads are fall’s trendiest craft.
Since most of us would love to personalize our newfound crafting love, I’ve put together a simple step-by-step guide on how to paint wooden beads!
Obviously, the actual first step is to buy the beads. You can get them at Target, Hobby Lobby, or Michael’s.
Step One:
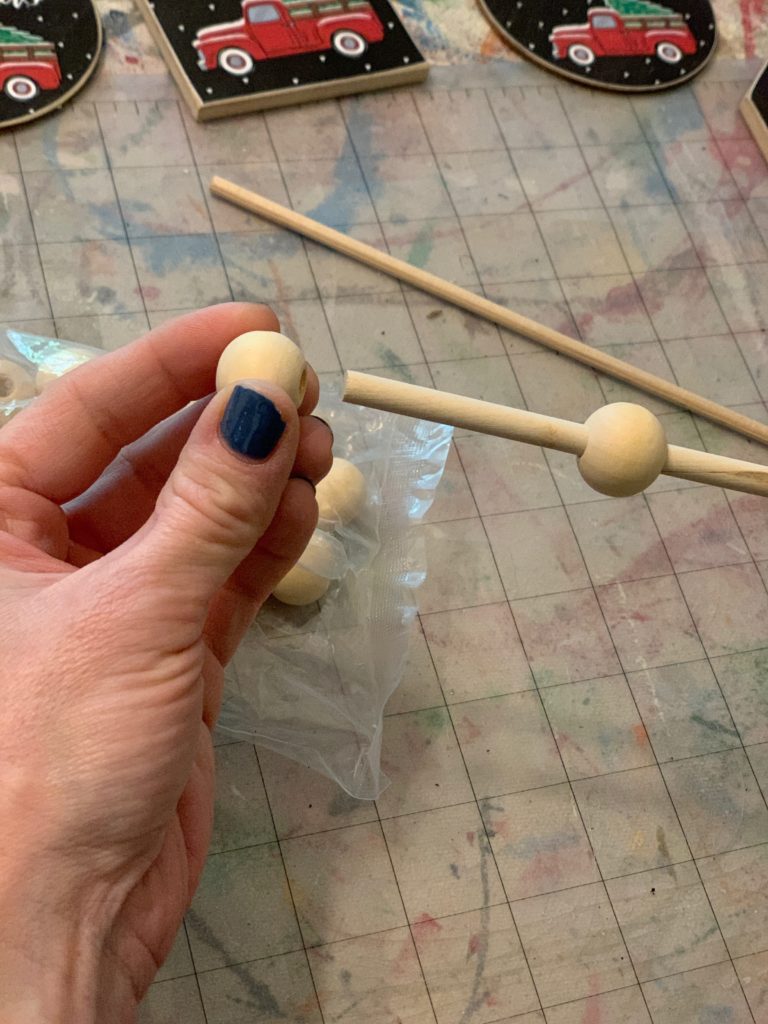
Add your beads to a wooden stick. Many times, you can find these in the craft section next to the bead. I usually use two at a time, each time I paint. Make sure you leave a little room between each so when you start painting, you can get the sides. It’s okay if the beads are a little loose on the stick – they are just providing structural support as you paint.
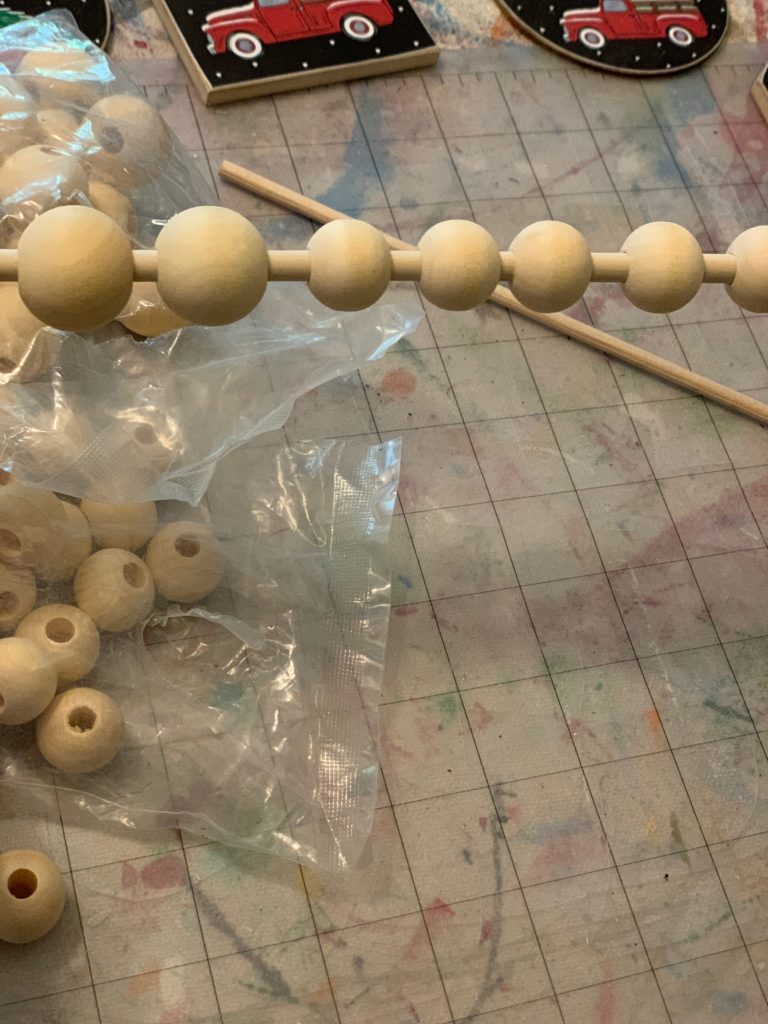
Your finished product should look something like this.
Step Two:
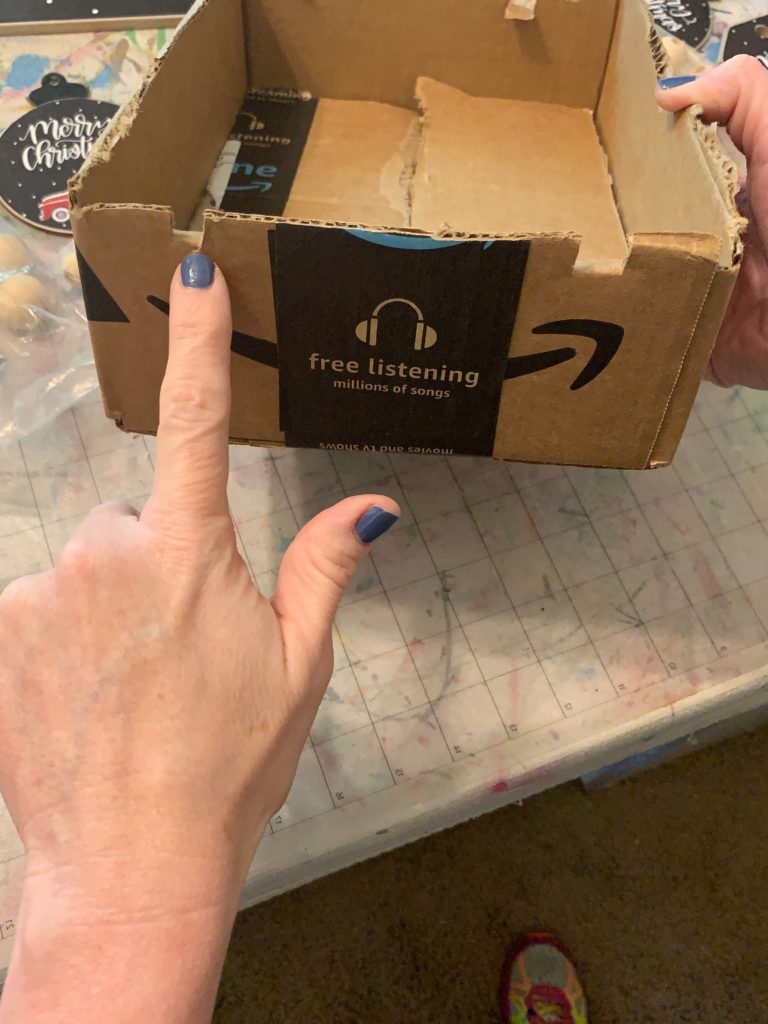
Find an old cardboard box. Cut two squares out of the right and left edges as pictured above. Make sure the squares are horizontally aligned.
Step Three:
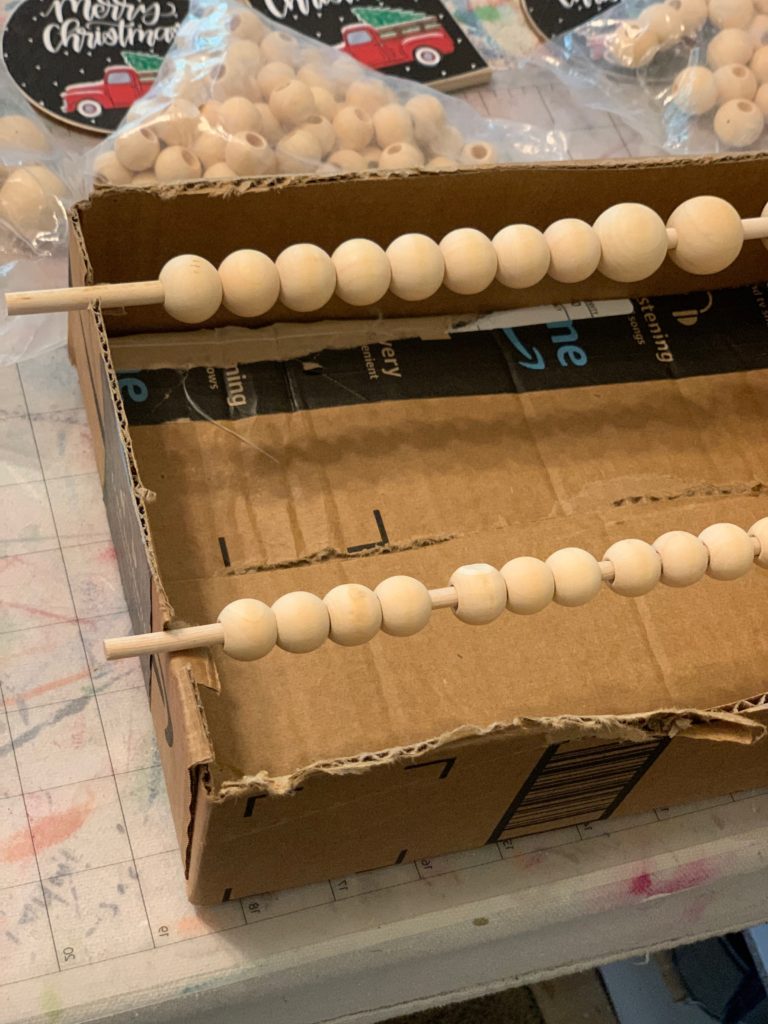
Place your sticks with the beads placed on them into the square cutouts.
Step Four:
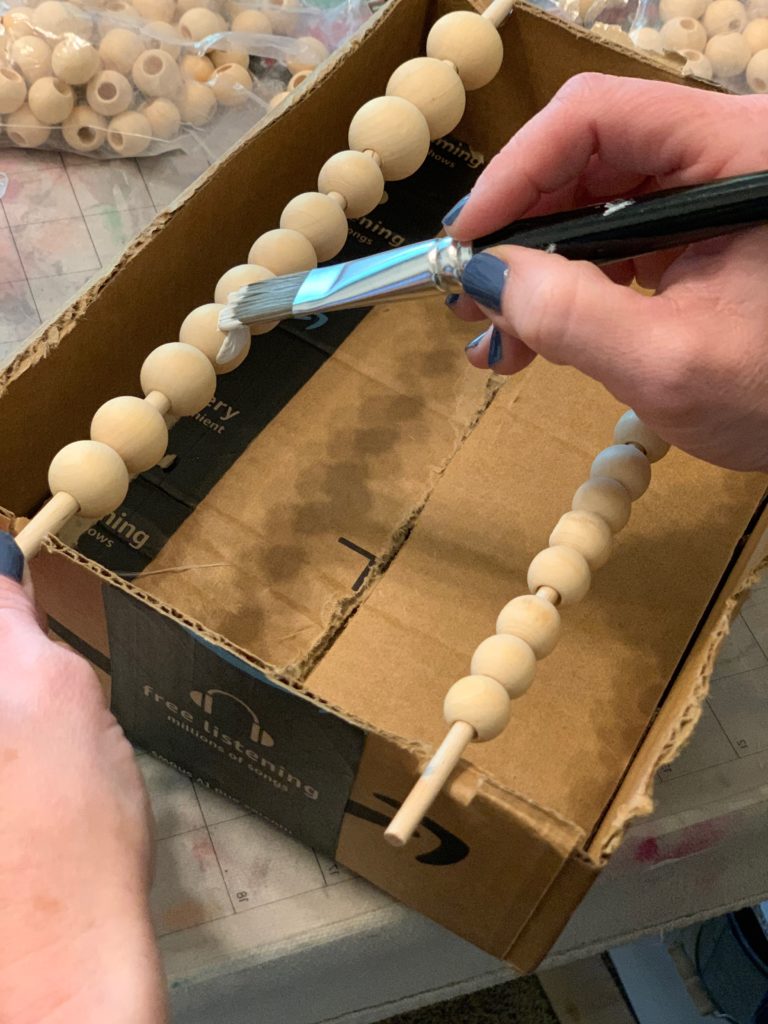
You’re ready to paint! Grab your favorite acrylic paint and use a wide tip brush. Don’t soak your paintbrush in the paint – just get a little on the edge. Paint as many coats as you need to get your desired shade.
Now that you know how to paint wooden beads like a pro, you can start using them on your next DIY project.
I can’t wait to see what y’all create!