
")


This post contains affiliate links. As an Amazon Affiliate, I earn from qualifying purchases. I may receive a small commission – no extra cost to you – when you make a purchase through these links.
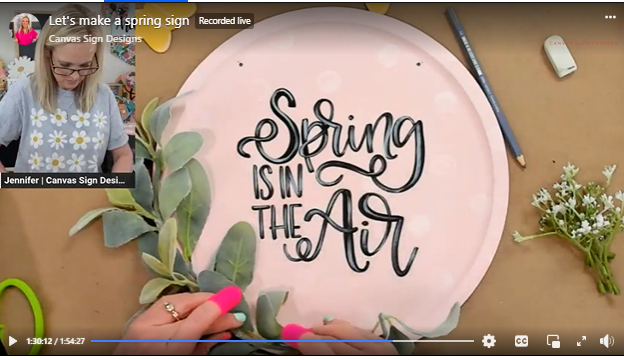
In the mood to hand letter a spring design? Grab your lettering pens and let’s make something beautiful! This tutorial uses a special “Spring is in the Air” hand lettering template and a simple pizza pan from Dollar Tree.
And while this spring lettering template was originally available exclusively to Happy Lettering Club members, it’s now available for purchase! Grab it here, then follow the tutorial below to see how I created this spring sign!
Supply List for Your Spring Lettering Project
To get started, you’ll need a couple of things.
- Pizza Pan: Grab one of these metal pans from your local Dollar Tree.
- “Spring is in the air” Traceable Template: This is your guide for the lettering design. Grab it here!
- Light Pink Chalk Paint: I combined “conch shell” chalk paint with white chalk paint to get a custom hue!
- White Acrylic Paint: For adding polka dots or other accents.
- Sponge Brushes: I recommend having a variety of sizes on hand. Larger ones for the base coat and smaller, firm sponge brushes for creating polka dots.
- Miscellaneous Floral Pieces and Greenery: Get creative with your embellishments! You can use flowers, greenery, butterflies, or whatever suits your spring style!
- Hot Glue Gun and Glue Sticks: This is how you’ll attach your decorations.
- String or Jute Twine: To hang up your new door hanger once it’s done.
- Spray Sealer: To keep your sign protected for the long haul.
- Graphite Paper: I use this for transferring the lettering template onto the pizza pan.
- Pencil: For tracing the template onto the graphite paper.
- Lettering Pens/Markers: To get that perfect hand-lettered design!
You can find most of these supplies on my Amazon storefront here!
Instructions for Using Your Spring is in the Air Lettering Template
I know the supply list looks a bit long, but likely these are things you already have on hand. Plus, many of them are optional. You can really customize this tutorial however you see fit so it works for YOU!
Step #1: Prepare the Pizza Pan
Make sure the metal surface of the pizza pan is completely dry before you start painting. Otherwise, you’ll get dust and dirt in your paint, and the surface will be rough and bumpy. There’s no one right way to do this, but a simple wipe-down with a dry paper towel will be fine.
Step #2: Apply the Base Coat
If you want to use the same color I used in this tutorial, you’ll need to mix two different colors! Use the “conch shell” chalk paint, and the white chalk paint, adjusting the ratio to achieve the look you’re going for.
NOTE: This technique can be used with any color or color mixture of your choosing. Just make sure it’s chalk paint!
Apply the paint in thin, even layers, being careful not to add too much to your paintbrush at a time. I like to paint on at least two coats for good coverage, but keep in mind that color variation will change the amount of layers you need. A good rule of thumb is the lighter the color, the more layers you’ll need!
Allow each layer to dry completely before applying the next.
Step #3: Add the Polka Dots
Once your base coat is dry, it’s time to add some polka dots! Use a small, firm sponge brush and dip it into your white acrylic paint. Make sure to cover the sponge evenly but avoid dunking it into the paint; you should still see the little holes in the sponge.
Press the sponge down and twist slightly to create a round shape. Then, allow everything to dry completely before moving on to the next step.
Feel like the white is too bright? You can dip your sponge brush back into your light pink mixture and lightly dab over the white dots to help soften the color.
Step #4: Transfer the Lettering Template
Take your Spring is in the Air lettering template and place it in the center of the painted pizza pan. Make sure it’s completely centered and exactly where you want it before moving on.
Use small clips to hold the lettering template in place (note: don’t use tape! It can peel the paint off). Slide a piece of graphite paper (shiny side down) between the template and the painted pizza pan. Using a pencil, carefully and firmly trace over the lettering design on the template.
Before removing the template and graphite paper, double-check that the entire design has been transferred. It can be very difficult to go back and realign the template if you’ve missed something!
Step #5: Bring Your Spring Hand Lettering to Life
Carefully trace over the graphite lines with your chosen lettering pens or markers. Work slowly and deliberately for neat and even lines. Remember, it’s not a race! Take as much time as you need.
You can also thicken the downstrokes of your letters to create a faux calligraphy effect. Just make sure you maintain a consistent thickness across all your letters.
Step #6: Add the Optional Extras
Want to add the little touches that really make your project pop? You can personalize it with embellishments like floral pieces, butterflies, and greenery like I did here. Just use a hot glue gun to stick it to your sign!
Step #7: Hang Your Spring in the Air Door Hanger Up
If you want to hang your sign up, you have a few options:
- Hot Glue String or Jute: This is the easiest way, but ensure the glue bond is strong.
- Drilling Holes With a Wire Hanger: You can use a drill to create small holes for threading your string or wire through.
Step #8: Protect it With a Sealer
Once all your paint is completely dry and your decorations are securely attached, seal your sign to protect the paint from chipping or scratching.
Use a spray sealer and apply it evenly over the entire surface of the sign, including the lettering and decorations. Avoid using brush-on sealers, as they can smear your lettering, especially if you’ve used paint pens or markers.
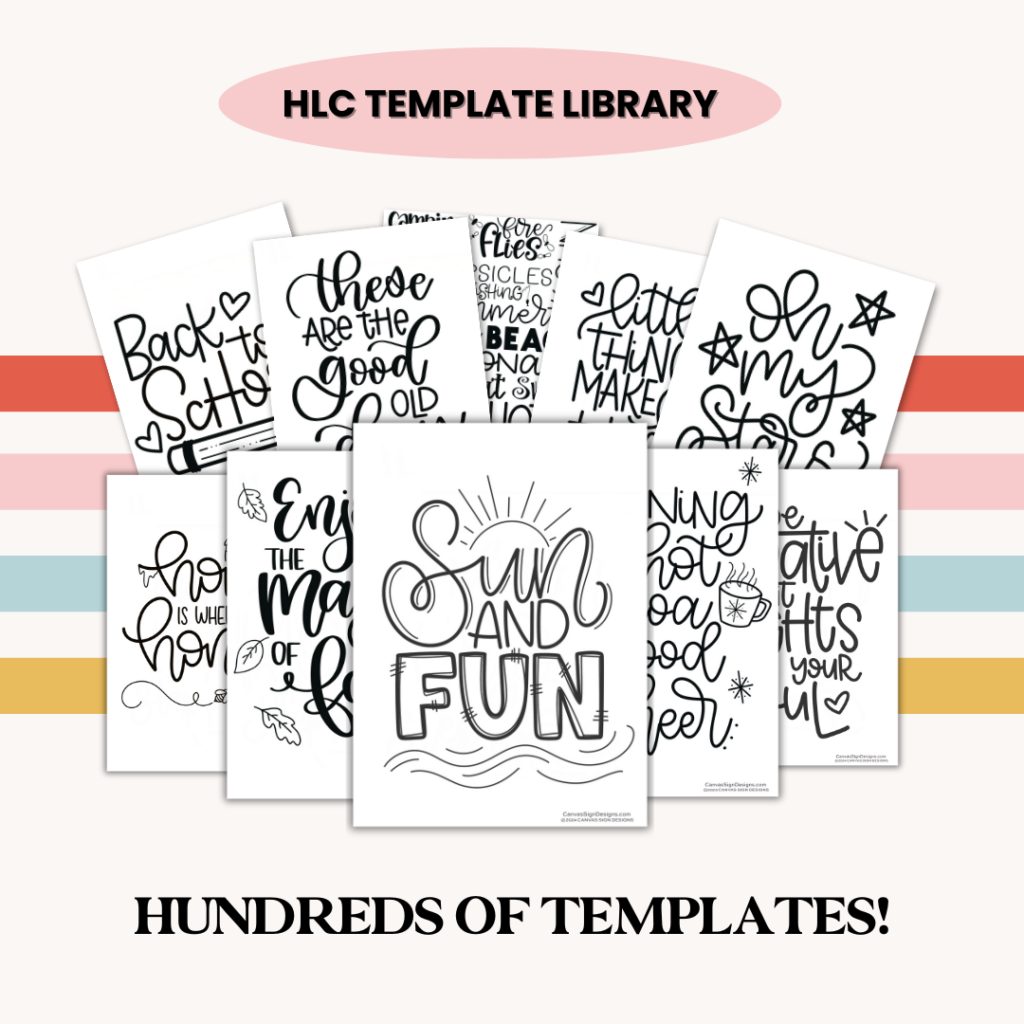
More Spring Lettering Templates in the Happy Lettering Club
Loved this tutorial’s template? That’s just a glimpse of what’s waiting for you inside the Happy Lettering Club! As a member, you’ll gain access to new worksheets and traceable lettering designs are added each month.
Stay inspired with fresh lettering ideas – join us today!

