")


This post contains affiliate links. As an Amazon Affiliate, I earn from qualifying purchases. I may receive a small commission – no extra cost to you – when you make a purchase through these links.
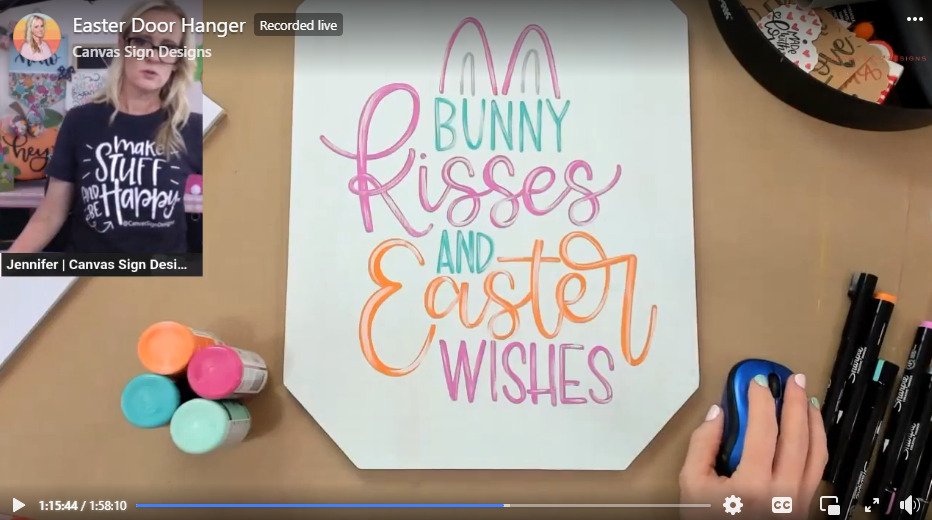
Last spring, I did a very special lettering project over on Facebook Live with one of our Happy Lettering Club templates, “Bunny Kisses And Easter Wishes.”
It was such a hit that I’m bringing it back for this year’s Easter season – and I’ve turned the tutorial into an easy-to-follow blog post you can follow along, no matter your skill level! Watch the Easter traceable hand lettering template tutorial below, or keep reading for the notes.
Easter Traceable Hand Lettering Template Supply List
To complete this project, you’ll need:
- Wooden door hanger blank: I used a 12×16-inch plaque shape I found at Walmart. You can find similar blanks at craft stores or online. You can also use this design on nearly any shape or style!
- Base coat paint: I used “Cottage White” by Folk Art. Pick any color that suits your style!
- Paint brushes: For applying the base coat.
- Lettering template: Grab the Bunny Kisses And Easter Wishes Lettering Template I used here!
- Graphite paper: To transfer your template onto the wood.
- Sharpie Acrylic Paint Pens: These are some of my favorites. I used bullet tip markers in gray and pink, and also had white, orange, and mint colors on hand. These acrylic markers come in both bullet and brush tips.
- Optional:
- Glitter Paint: For adding some sparkle.
- Pom-pom ribbon: To embellish your finished door hanger.
- Sealer: To protect your finished design when you’re done.
- Hanger and bow: To finish your door hanger for display (added after painting and sealing).
Instructions for Using the Easter Traceable Template
Ready to get started? Transferring this template onto a door hanger is easy. You can see the step-by-step instructions below, or follow along with me in the video as you craft.
Step #1: Prepare Your Wood
Apply a base coat of your chosen paint color to the wooden door hanger blank. I used “Cottage White” in this specific project, but you’re free to use whatever you want, of course!
Keep in mind that if you use a lighter color, you’ll probably need to apply several base coats to get the full-color saturation. When you’re done, allow the base coat to dry completely before moving on.
Step #2: Transfer Your Lettering
Once the base coat is dry, place a sheet of graphite paper shiny side down onto your painted door hanger.
Position your “Easter and Kisses” lettering template on top of the graphite paper and carefully trace the design with a pen or pencil. This will give you an outline you can trace with your favorite lettering pens or markers!
Be careful not to rub your hand across the graphite paper to avoid smudges.
Step #3: Bring Your Letters to Life
Let’s bring those letters to life! I used Sharpie Acrylic Paint Pens to complete the hand lettering on this project. I love these markers because they offer great coverage and write smoothly.
Want to make your lettering stand out even more? Thicken the downstrokes of your letters to make them thicker!
You can also incorporate accents with colors like white, orange, or mint. Feel free to get creative here!
Step #4: Optional Add-ons
If you love a bit of shimmer, add some glitter once your design is ready! You can use glitter paint. It works well without being too overpowering. You could also add embellishments like pom-pom ribbons to tie in all the colors of your design!
Step #5: Seal Your Masterpiece:
Once your design is complete and fully dry, apply a sealer to protect your beautiful hand-lettering. You can also add a bow and jute string for easy hanging!
Pro tips for Hand Lettering
Hand lettering can be the most fun and creative part of your door hanger and craft projects. To keep it looking good, and minimize any frustration in the process, use these tips as you work:
- Find Your Angle: Don’t be afraid to turn your sign as your letter to find the most comfortable and steady angle for your hand.
- Thicken Those Downstrokes: Make the downstrokes of your letters thicker to achieve the look of faux calligraphy.
- Step Back and Take a Look: After lettering, hang your door hanger up or take a picture with your phone and look at it from a distance. This will help you see if your lettering is thick enough to be easily read. Skinny letters can appear even thinner from afar.
- Trust the Process: Your project might not look perfect in the middle, but trust the process! Adding all the accents and finishing touches can really bring it all together.
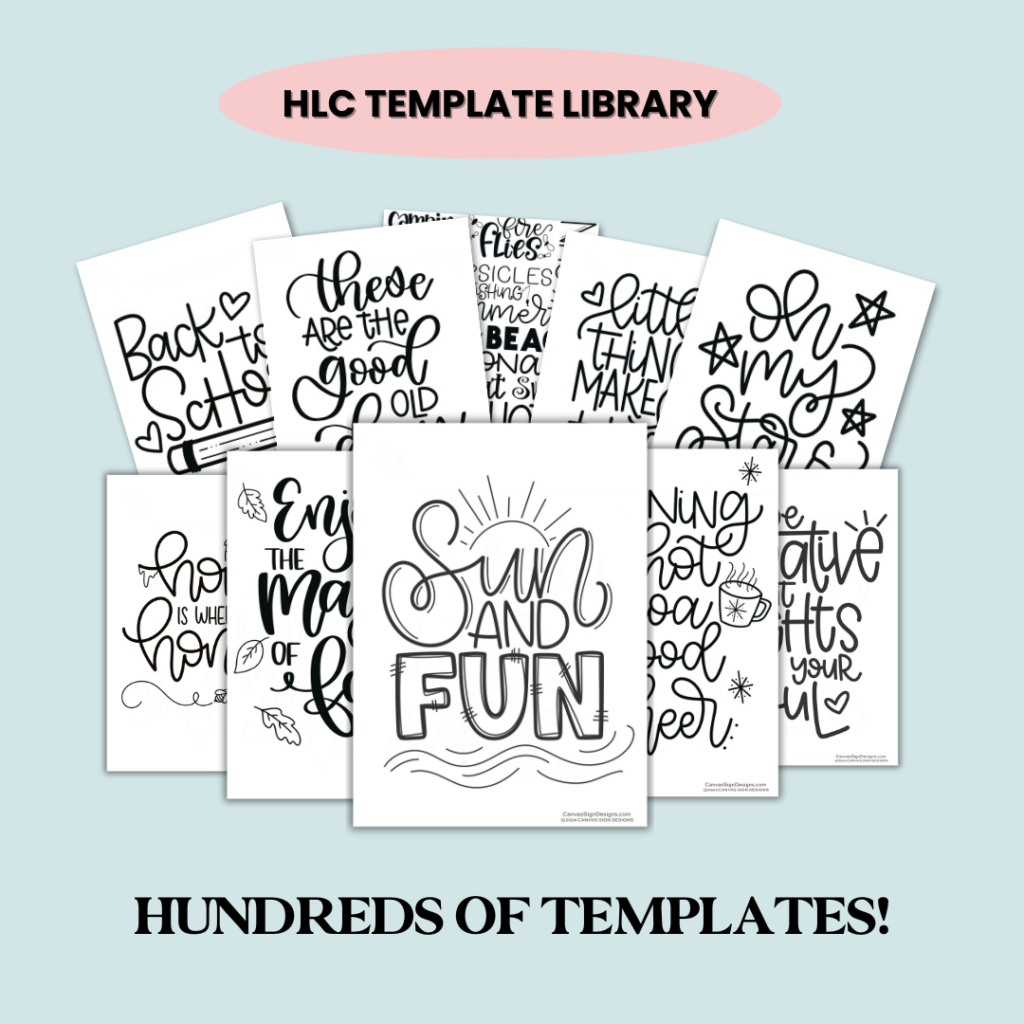
More Templates Available inside the Template Library!
Loved this tutorial? There’s more where that came from! Inside the Template Library, you can get access to HUNDREDS of lettering templates, just like the one we used for this project. If you’re interested, you can follow me here to learn more!